How to Hook Up a Flatbed Trailer Safely – Step-by-Step Guide
- September 22, 2025
- Towing Tips
- seo-manager
Hooking up a flatbed trailer the right way keeps you, your cargo, and other drivers safe. If the trailer isn’t secured properly, it can sway, disconnect, or cause damage.
To hook up a trailer, park on level ground → attach and lock the coupler → secure safety chains → connect lights → test brakes and signals → do a final check before driving.
In this guide, you’ll find a step-by-step guide to help you understand every step more carefully.
Pre-hookup inspection checklist
- Confirm your vehicle’s towing capacity, GVWR, and tongue weight.
- Inspect trailer (deck, frame, tires, brakes, lights).
- Inspect hitch and coupler for rust or damage.
- Ensure safety chains, breakaway cable, and wiring harness are functional.
- Gather required tools and accessories (hitch pin, gloves, grease).
- Legal basics: required safety chains, lighting, breakaway systems.
Understanding Hitch & Coupler Types
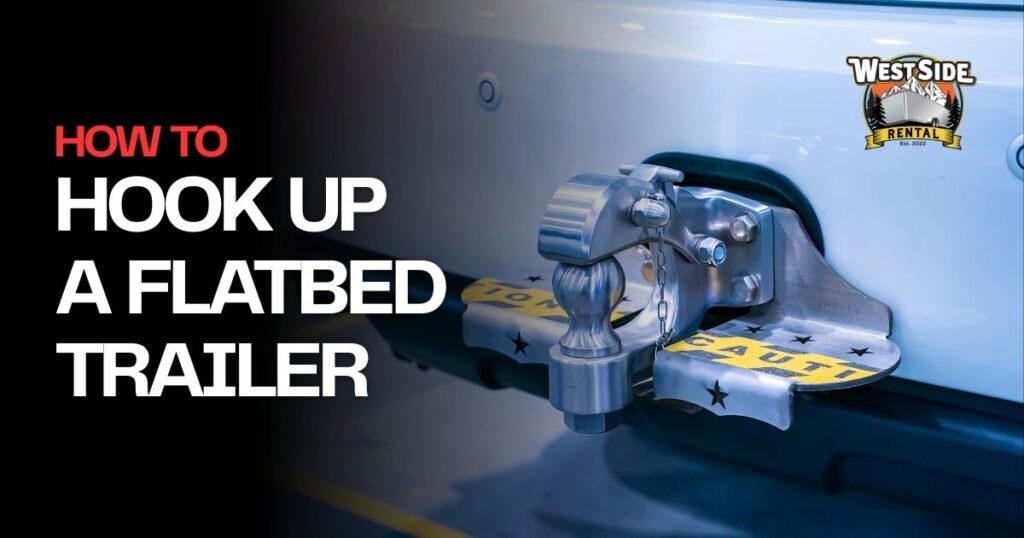
A hitch and coupler are the two parts of the system that connect a trailer to a tow vehicle. The hitch (called the hitch ball) comes with the tow vehicle, and the coupler is on the trailer. The coupler locks onto the hitch ball, allowing the trailer to pivot safely. You need to make sure the coupler and hitch ball are the same size and can handle the trailer’s weight.
But the issue is all flatbed trailers don’t hook up the same way, so it’s important to know what type of hitch and coupler your trailer uses. Most smaller trailers connect with a standard ball hitch at the back of your truck.
But larger trailers may require a gooseneck or fifth-wheel hitch installed in the truck bed to handle extra weight and provide stability. Even heavy-duty trailers sometimes use a pintle hook system for extra strength.
So, it’s the most essential step to make sure the trailer coupler matches the correct hitch and ball size on your vehicle. This ensures a secure connection and prevents the trailer from coming loose while you’re driving.
Step-by-Step: How to Hook Up a Flatbed Trailer
Step 1: Align Vehicle & Trailer
The first step to hook up your trailer to place your trailer at flat ground and position your vehicle near the trailer. after that slowly back your vehicles to the trailer hitch ball is about one foot from the trailer tongue.
If possible find a friend or helper to guide you or use a backup camera to ensure proper alignment. Taking your time at this stage makes the next steps much easier and reduces the chance of misalignment.
Step 2: Adjust Coupler Height
Next, after the distance of a foot away from your vehicles from the trailer tongue, then stop the vehicles and adjust the trailer coupler. Sits slightly higher than the hitch ball, about two to three inches above it. This allows the coupler to lower smoothly onto the ball.
Then, apply a thin layer of grease to the hitch ball to ensure a smooth connection and reduce wear on both the ball and coupler over time.
Step 3: Back Up Until Coupler is Over Ball
Once the coupler height is set, slowly back your vehicle until the coupler is directly over the hitch ball. Move carefully and make small corrections as needed. But if the alignment is slightly off for you then pull forward your vehicle and try again rather than forcing the connection.
Step 4: Lower Coupler Onto Ball
Before lowering the trailer coupler, make sure the latch is unlocked. Then, use the trailer jack to gently lower the coupler onto the hitch ball. The coupler should rest fully and evenly on the ball, creating a stable connection between your trailer and vehicle.
Step 5: Lock & Secure Coupler
With the coupler seated on the ball, engage the latch and insert a safety pin or coupler lock. Make sure the connection by gently lifting the trailer tongue that should not come off the ball. That mean, ensure the coupler is secure and ready for towing.
Step 6: Attach Safety Chains (Cross Pattern)
Attach the safety chains in a crisscross pattern under the coupler to create a supportive cradle. This design helps catch the trailer tongue if it ever disconnects. Leave enough slack in the chains to allow for turning, but avoid letting them drag on the ground. Attach the breakaway cable to a separate anchor point on your vehicle, keeping it independent from the chains.
Step 7: Retract Trailer Jack
Once the coupler and chains are secured, fully retract the trailer jack or rotate it into its stowed position. Check that it is clear of the ground and won’t scrape or interfere while driving. This prevents damage to both the trailer and the road.
Step 8: Connect Electrical Wiring
Plug the trailer’s wiring harness into your vehicle’s socket. Make sure the connection is firm and secure. Wrap any excess wiring around the trailer tongue to keep it off the ground and prevent it from catching on objects while driving.
Step 9: Test Lights & Brakes
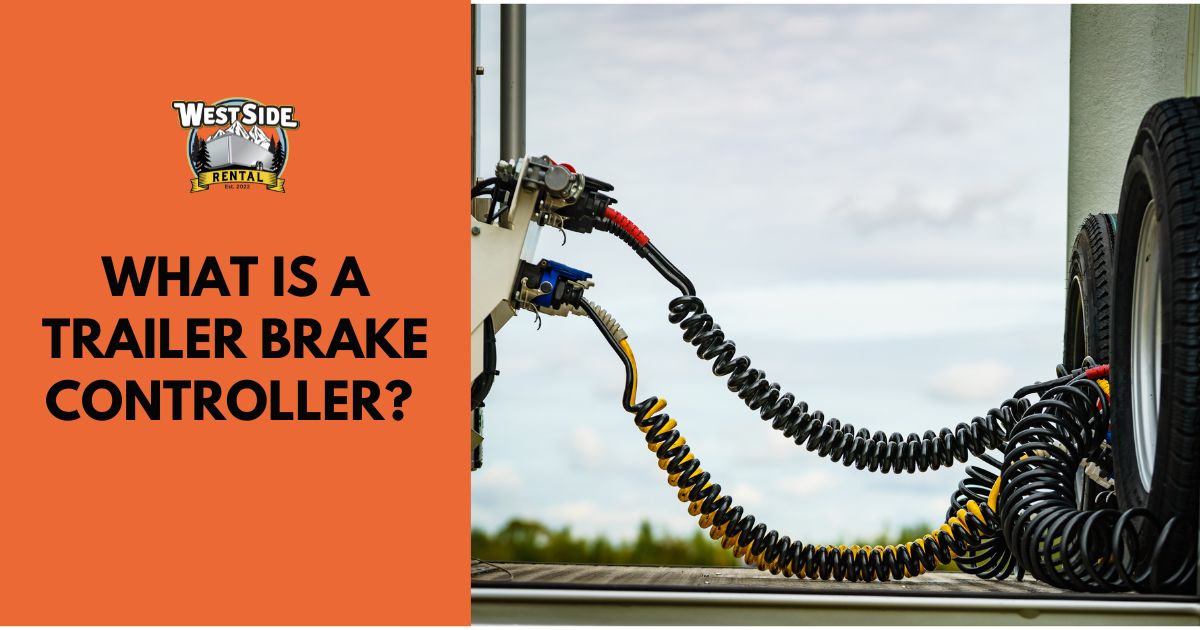
Finally, test all trailer lights with the help of a friend or by carefully checking them yourself. Ensure that tail lights, brake lights, turn signals, and hazard lights are working correctly. If your trailer has electric brakes, test the brake controller to confirm it’s set to the appropriate trailer weight. This last check ensures your trailer is fully functional and safe to tow.
Common Mistakes & Troubleshooting
- Using the wrong ball size or coupler.
- Forgetting to lock the latch.
- Safety chains too tight or too loose.
- Wiring plug not fully seated (no lights).
- Uneven cargo causing trailer sway.
Bottom Line
Hooking up a flatbed trailer the right way is about taking your time and checking each step. Align carefully, lock the coupler, attach safety chains, connect the wiring, and test everything before you roll. Doing it this way keeps you safe and makes towing smooth.
